The Pumpkin Masters kit is $14.99 at Target. It breaks by pumpkin two. The little saw snaps at the handle every time — I've bought three of those kits and I've broken three of those saws. There's a better way and it costs less.
Pumpkin carving for beginners is not about skill. It's about the right template and the right tool. Here's how to actually do it without crying.
Get Your Templates Free
Pinterest is flooded with free pumpkin stencils but the sorting is a nightmare. Better: Zombie Pumpkins, Winkel Pumpkin Patch, and DeviantArt all have free beginner patterns. The trick is "beginner" — you want designs with fewer than 15 cut-out sections. Anything over 20 is intermediate and your jack-o-lantern will look like a slashed tire.
Print on regular paper. Tape to the pumpkin. Use a thumbtack or a poker tool to dot along the lines. Pull the paper off. Connect the dots with a knife. That's the whole transfer.
The $3 Tool That Beats the $15 Kit
A ceramic pottery needle or a linoleum cutter from any craft store — $3 at Michaels. The V-shaped lino cutter is what real pumpkin carvers use for the shading lines. The fine needle pokes holes for the template transfer. Two tools, three dollars, and they last forever. I'm still using the same lino cutter I bought in 2022.
For the big cuts — the mouth, the eyes — use a cheap serrated kitchen knife you don't care about. The kit saws bend. A real knife goes through the wall in one stroke.
The Ice Cream Scoop Trick
The Pumpkin Masters kit comes with a flimsy plastic scraper. Throw it away. An ice cream scoop with a straight edge cleans a pumpkin in four minutes flat. The metal edge scrapes the strings and the curve hugs the inside wall. I did three pumpkins last year with the same OXO scoop and my arm didn't fall off.
Pick the Right Pumpkin
Wide, short, flat-front. Not tall and round. You want one good flat face for the design and enough depth that the candle sits well below the carving. A tall pumpkin tips and the design stretches weird.
Avoid pumpkins with soft spots, green patches, or stems that pull loose. They're already rotting. A fresh pumpkin keeps a week carved. A soft-spot pumpkin lasts two days and then caves in on itself.
want the good stuff monthly?
one short email, no spam.
What to Skip
- The $15 Pumpkin Masters kit. I said it once. The saw breaks. Save the money.
- Battery tea lights that claim to flicker. They don't. Real candles flicker. Use a votive in a glass jar inside the pumpkin. The glow is warmer and the flicker is real.
- "Pumpkin preserving spray." It's $8 and it buys you maybe two extra days. Just carve closer to Halloween.
- Painting instead of carving. I'm not against painting, but that's a different article. If you came here for carving, carve.
The Toothpick Repair
You will break a piece off. Every beginner does. The fix is two toothpicks and a tiny bit of pumpkin flesh. Stick a toothpick in the broken piece, stick another in the body where it goes, press them together. Holds long enough for the photos.
I reattached a whole tooth last year and my daughter didn't notice until November 2nd. By then the pumpkin was on its way out anyway.
One Free Template I Swear By
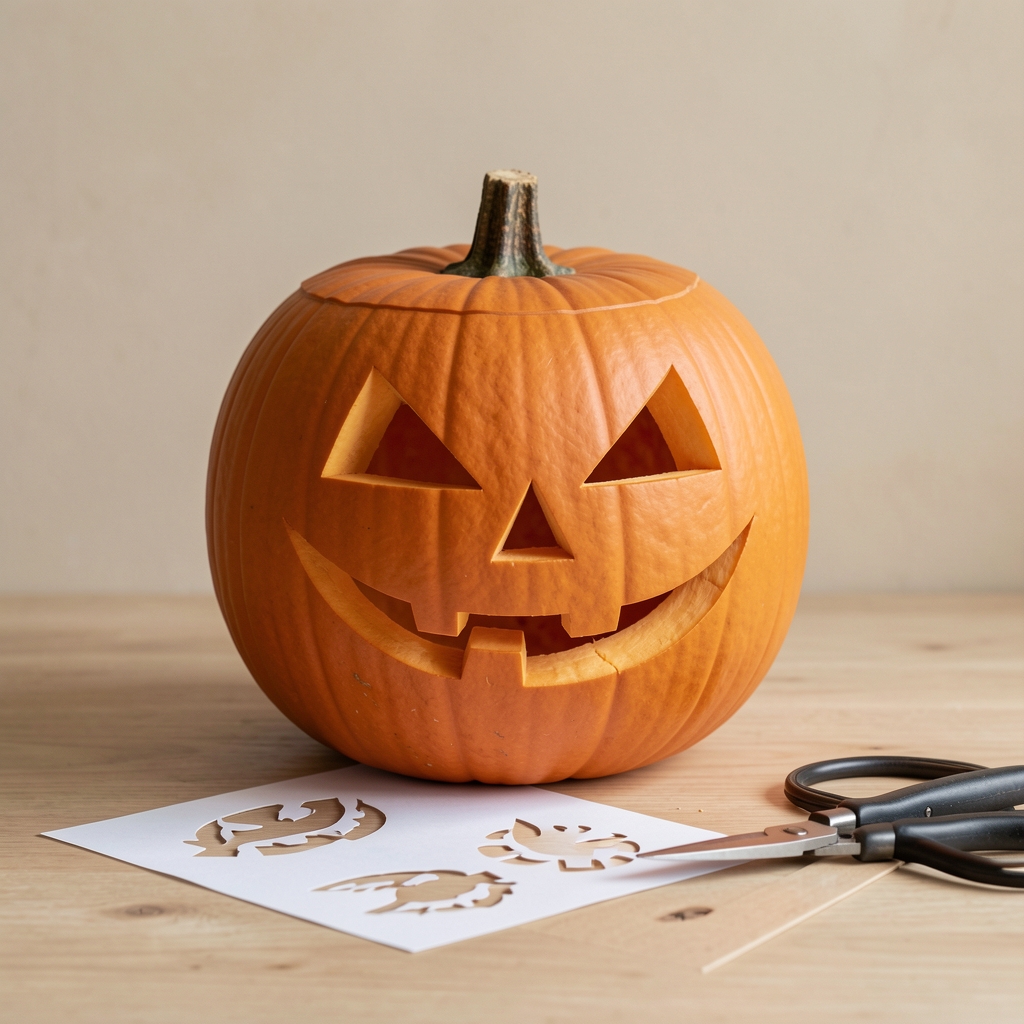
The classic triangle-eye jack-o-lantern. Not a joke. I've carved dragons, ghosts, cats, a Stormtrooper — and the one people compliment is the triangle-eye. It looks like a pumpkin should look. Print one, free, anywhere. Ten minutes with the scoop and the kitchen knife and you're done.
The fancy stencils are for when you're hooked. Start with the face your grandmother carved. It's famous for a reason — because it works and because it doesn't require three hours and a crying fit to pull off.